Areola Reconstruction
The first 24 Hours - protective film
A thin protective film is applied over the treated area straight after your appointment. You can shower with the film in place.
Remove the film 24 hours after the procedure: rinse the area gently under running water (a little lymph will have collected beneath the film over the day), then let the area air-dry after your shower. From this point on, follow the care below.
While the crust heals
A crust then forms over the area. It must not be scratched, picked, peeled off, or covered with any cream. If the crust is lifted earlier than it should be, no pigment will be left in that spot — and the healed result will be uneven.
The crust sheds on its own, usually at 6–10 days, once the skin beneath has healed and the pigment has settled into place. Until then, protect it — don't rub it in the shower, scratch, pick, or apply anything to it.
What to expect
When the crust comes away, don't expect to see the final result straight away. The fresh, renewed skin is usually pink, and over the next month it matures into its natural tone while the pigment gradually develops. For this reason, we assess the true result about a month after the procedure.
Your correction (second session)
This stage cannot be skipped — the correction is an essential part of completing the work and perfecting the colour.
What to avoid
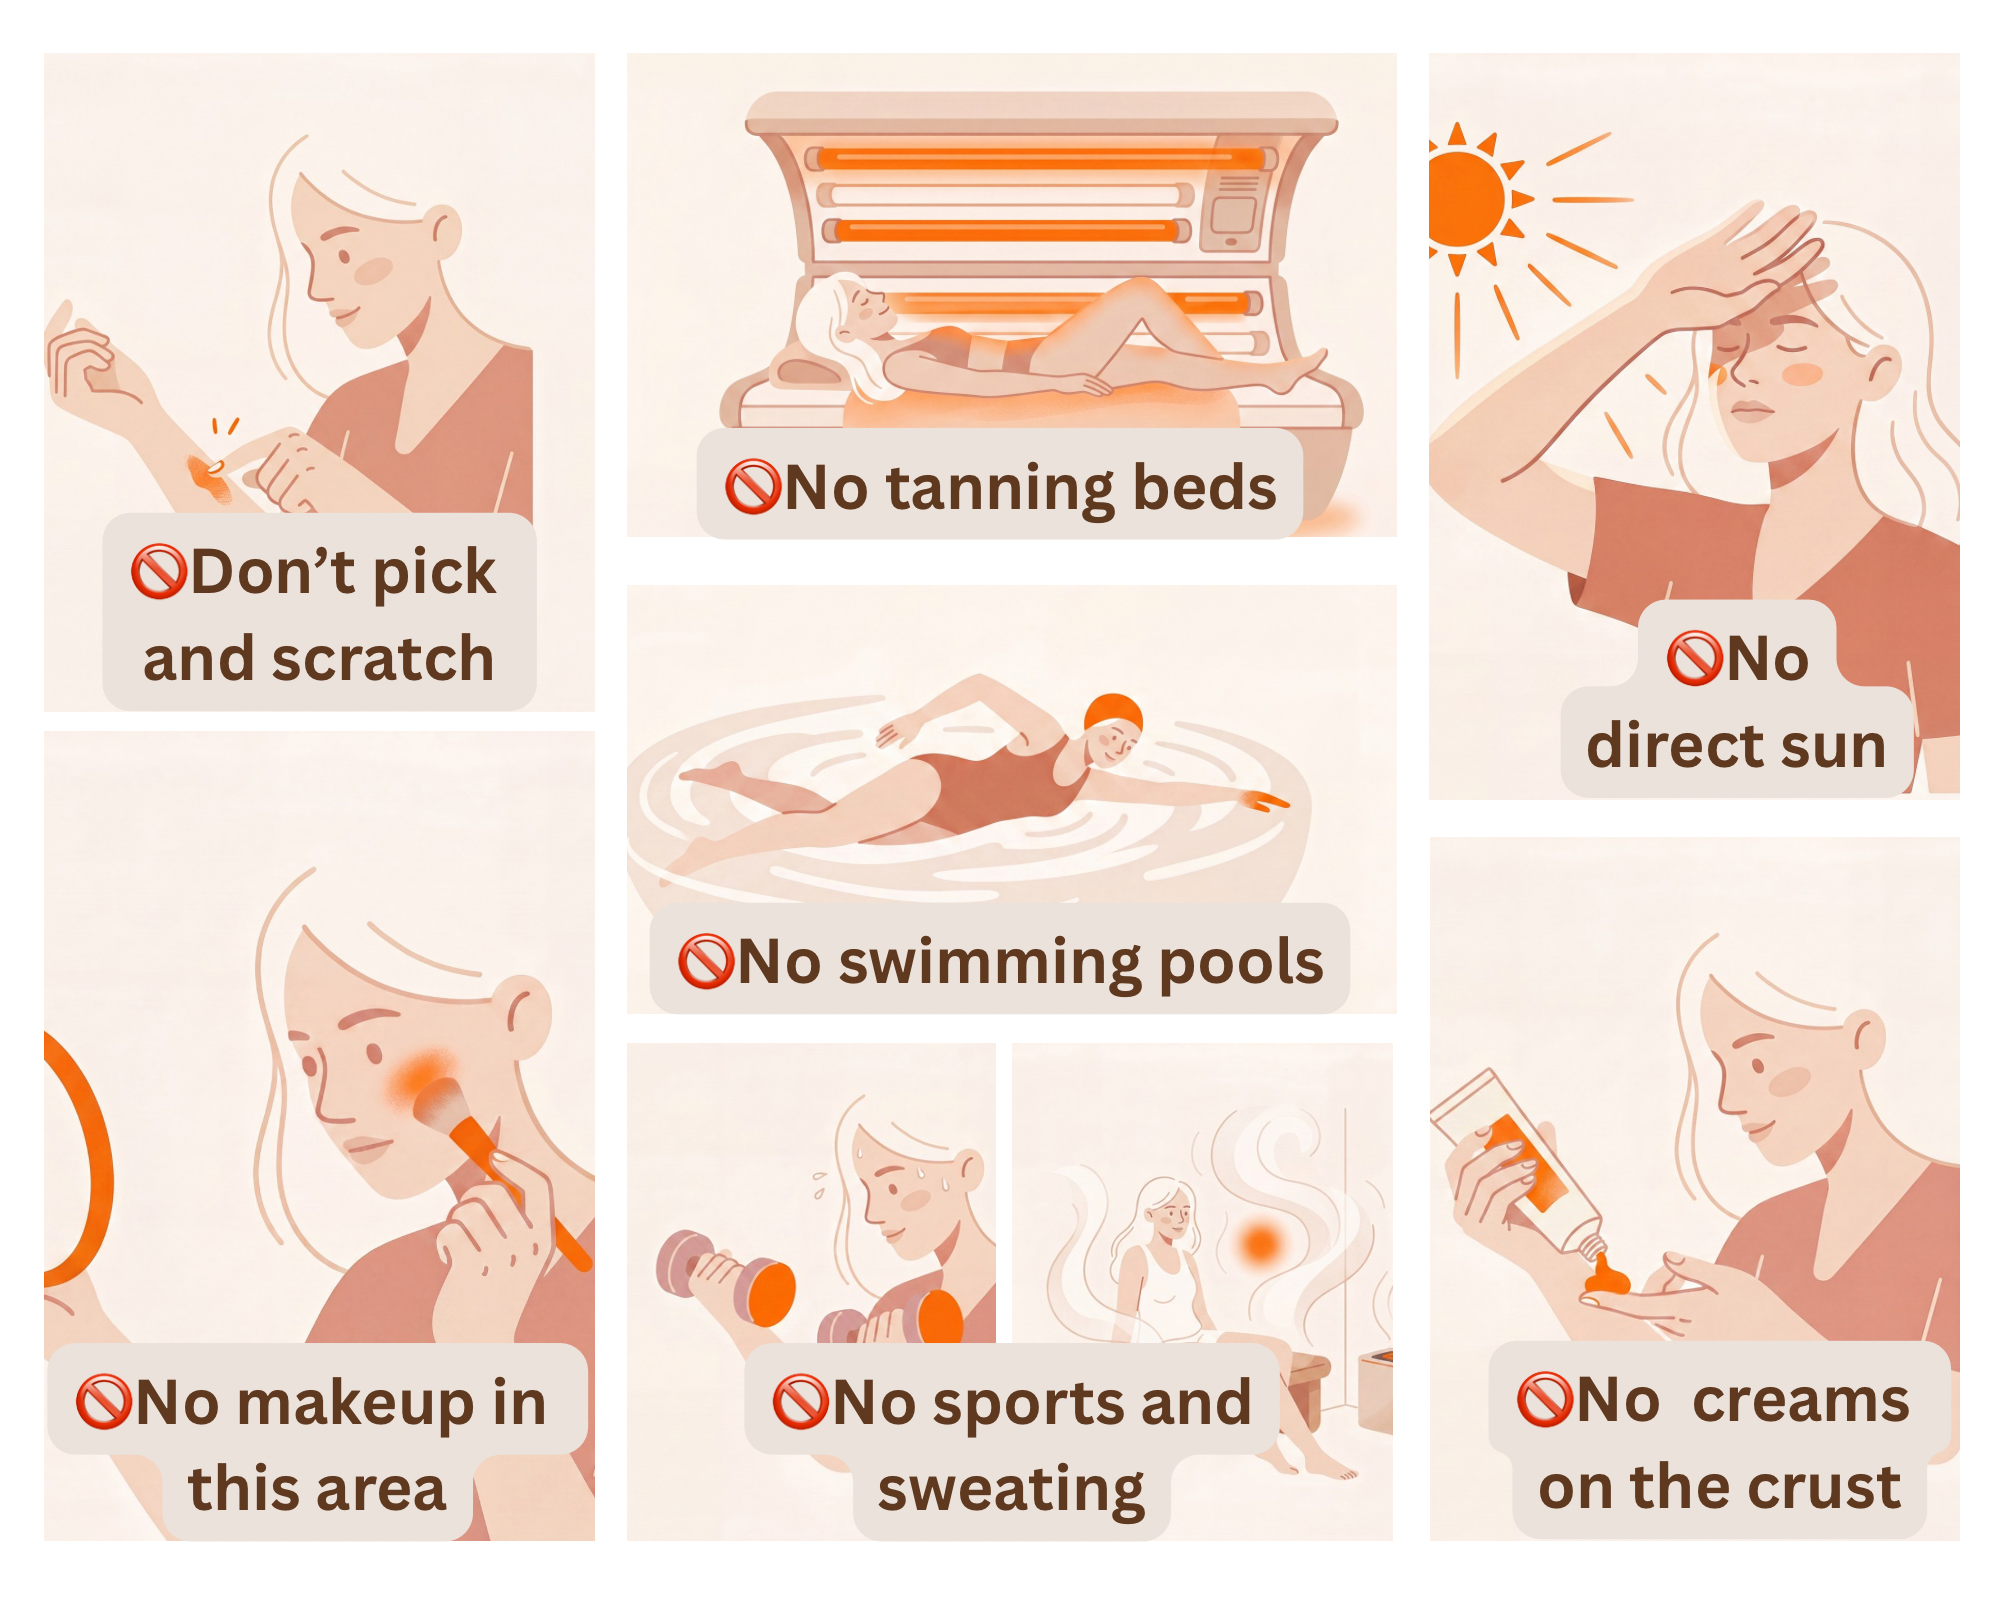
While the crust heals — don't rub, scratch, pick or apply anything to the area. Avoid steam baths, saunas, swimming pools, intense sport and tanning beds.Once the crust has shed — protect the area from the sun with SPF 50.
Important — laser & your areola reconstrucion
Never have laser treatment over an area where camouflage has been done. Please keep this in mind before any laser procedure — laser hair removal, or laser treatment of veins and vessels: the heat can turn the pigment grey or black.
Before any such treatment, the camouflaged area must be covered with a white pencil, and you must always tell your laser specialist that pigment has been placed there.
The colour you see in the first weeks is never the final result.
Trust the process, and don't judge your result until the skin has fully settled.
AK PARAMEDICAL STUDIO
Aftercare
Scar Camouflage/ Areola Reconstruction / Permanent Makeup / Non-Laser Removal
Your result depends not only on the treatment itself, but just as much on how you care for the area afterwards. Please read this through and follow each stage — patience and good aftercare are what bring the result we are aiming for.
Scar / Vitiligo Camouflage
Straight after your appointment
Within about 3 hours, a crust forms over the treated area. It must not be scratched, picked, peeled off, or covered with any cream. If the crust is lifted earlier than it should be, no pigment will be left in that spot — and the healed result will be uneven.
While the crust heals
The crust comes away on its own, usually at 6–10 days. By then the skin underneath has healed and the pigment has settled into place.
Until it sheds naturally, protect the crust: don't rub it in the shower, and don't scratch, pick, or apply anything to it.
What to expect
When the crust comes away, don't expect to see the final result straight away. The fresh, renewed skin is usually pink, and over the next month it matures into its natural tone while the pigment gradually develops. For this reason, we assess the true result about a month after the procedure.
Your correction (second session)
This stage cannot be skipped — the correction is an essential part of completing the work and perfecting the colour.
What to avoid
While the crust heals — don't rub, scratch, pick or apply anything to the area. Avoid steam baths, saunas, swimming pools, intense sport and tanning beds.Once the crust has shed — protect the area from the sun with SPF 50.
Important — laser & your camouflage
Never have laser treatment over an area where camouflage has been done. Please keep this in mind before any laser procedure — laser hair removal, or laser treatment of veins and vessels: the heat can turn the pigment grey or black.
Before any such treatment, the camouflaged area must be covered with a white pencil, and you must always tell your laser specialist that pigment has been placed there.
The colour you see in the first weeks is never the final result.
Trust the process, and don't judge your result until the skin has fully settled.
Permanent Makeup Removal
(non-laser method)
Straight after your appointment
The area will be red and will release a little lymph (clear fluid). For the first hour, gently blot the lymph away with a clean, dry tissue.
This small step matters far more than it looks. The thickness of your crust depends directly on it: if a lot of lymph is left to dry on the skin, the crust forms thick and heavy — and a heavy crust means slower, longer healing.
Do not touch the open area with unwashed hands, do not apply anything to it, and do not scratch it.
The first few hours
Around 3 hours after the procedure, a crust begins to form. This is the most important stage of all: the crust must not be peeled, picked, scratched, or covered with any cream. When healing is complete it will flake away on its own — usually 6–10 days after the procedure.
The crust is doing essential work: it protects the area from cross-infection, and underneath it the remover is bonding with the pigment. Disturbing it interrupts that whole process.
Once the crust has come away
You may see pink skin underneath — this is completely normal. It is fresh, young skin that will keep maturing over the next 3–6 weeks (depending on your skin type). Once fully healed, you may notice that:
some of the pigment has lifted or become much lighter, or
some of the pigment looks brighter — and this is also an excellent result. It means we have drawn the pigment up from the deeper layers of the skin, and it will continue to clear in the following sessions.
What's important to understand
There is no fixed number of sessions. We assess your result by how each one heals, and plan the next from there.
If you have had a lot of permanent makeup, corrections or cover-ups, the pigment is removed layer by layer.
If your permanent makeup is very old (more than 7 years), each pigment particle has become wrapped in fibrous tissue. The remover first softens this tissue, and only then begins to bond with the pigment — so older work simply needs more patience.
In short: once you have decided on removal, the result comes with patience and by following this aftercare closely.
What to avoid
First week — do not scratch, pick, apply cream to, or soak the crusted area. Avoid intense workouts, saunas, swimming pools and tanning beds.
After one week — you may begin using a healing cream. Keep the area out of direct sunlight and protect it with SPF 50.
After 4–6 weeks — return for your next session, if one is needed.
When to contact me straight away
Please get in touch promptly if you notice increasing pain, spreading redness, warmth, any discharge, or a fever — these can be signs of infection and should always be checked.
The colour you see in the first weeks is never the final result.
Trust the process, and don't judge your result until the skin has fully settled.